The first step is to build the basic form, in preparation for writing BASIC+ code to customize the list box. Do the following:
Create a new form called LISTBOX in the Form Designer, selecting No Table as the data source.
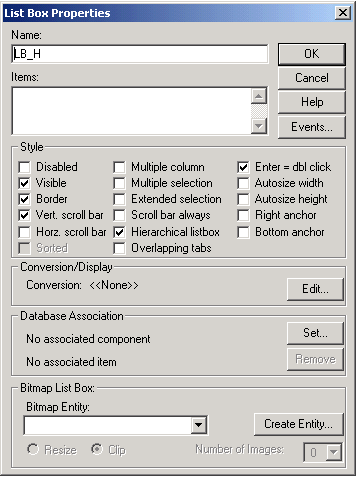
Create the list box. Add a list box control called LB_H. In the list box’s Properties dialog box, check Hierarchical listbox, and check Enter = dbl click. We will not use a bitmap to indicate the hierarchical list box level. Instead, we will use the Tab character (Char(9)) as a separator between the levels. The settings should display as below.
In the previous example, we added the contents of the list box by typing in the Items: area. In this case, however, we add all of the functionality through a single stored procedure.
3. Create a Populate button. Add a button control called B_POPULATE, and type Populate in the Text property. In the CLICK event of this button, a function called TEST_LB() will be invoked to populate the hierarchical list box.