To identify the changes to be deployed, you create a Repository View using the RDK. Do the following:
Start the Runtime Deployment Kit from the Application Manager (selecting the Deploy Application button), and click either the New icon, or choose New from the File menu. The following window displays:
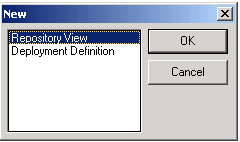
Select Repository View and click OK. The following window displays: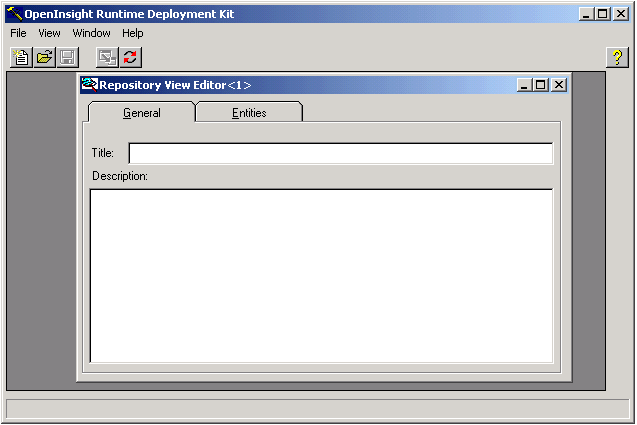
- In the General tab, enter a name and description for the Repository View.
- Click on the Entities tab. This is where you can define which entities to be extracted into an upgrade package. The display is shown below:
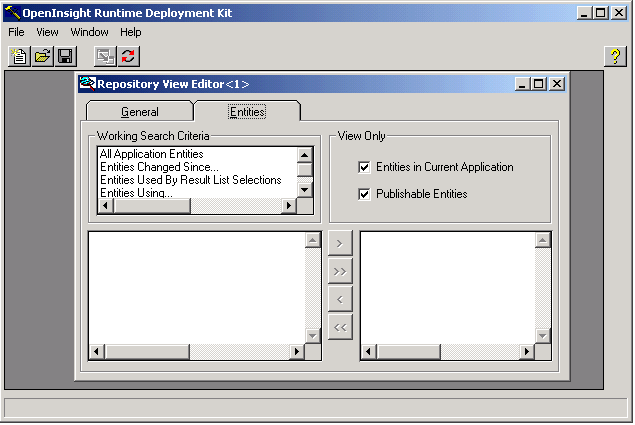
You can select entities by expanding the hierarchy to the left, and then using the directional arrows to manage the two lists (all entities listed on the left are in the development copy of the application but won’t be deployed, whereas all the entities listed on the right—the result list—will be deployed into an upgrade package).
A single directional arrow moves only the selected entity between the lists, but the double-arrow moves the entire list. If you want to view only certain categories of entities, you can use the various controls on the dialog box to limit or expand the listing.
- To deploy all entities changed since a particular date, highlight Entities Changed Since... and double click. The window below displays:
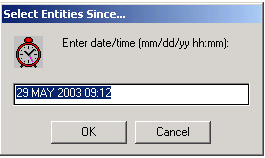
Enter the date and time from which you want to deploy changed entities, and click OK. The list box in the lower left corner of the Repository View editor is populated with a list of changed entities. You can move all of them to the result list box, or you can exclude some from being deployed. - Save the Repository View. Click File and then Save As..., giving the Repository View a name. You will use this name when you create the upgrade definition. For the purpose of this tutorial, the Repository View is saved as ENTITIES_CHANGED.