Page History
...
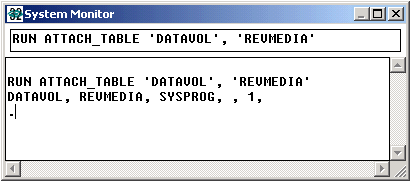
Attach target media map. Determine the volume name for the file onto which the MFS is to be installed. For example, if the file is on the default directory, the volume name is DATAVOL. Attach the media map for the volume by entering the ATTACH_TABLE command using the System Monitor. For DATAVOL, the output is shown below:
...
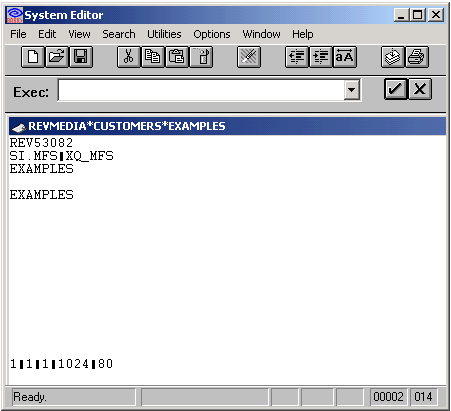
Edit media map entry for file. Once
...
the REVMEDIA
...
file is attached, its records can be edited in the System Editor, just like records in other OpenInsight files. Records in
...
the REVMEDIA
...
file have a two-part
...
key (filename*applicationname).
...
The REVMEDIA
...
record for
...
the CUSTOMERS
...
table in
...
the EXAMPLES
...
application, before
...
installing SIMPLE_MFS,
...
is shown below:
...
- Add MFS Name. Field 2 of the media map entry is reserved for MFS names. If the field is empty, simply enter the name of the MFS to be associated with the file.
If more than one MFS is associated with the file, the field uses value marks to separate the MFSs. Add the MFS name and any required value marks to field 2. Each MFS will be called in the order it appears in field 2, left to right. Below is how the REVMEDIA record displays after adding SIMPLE_MFS to the front of the MFS chain.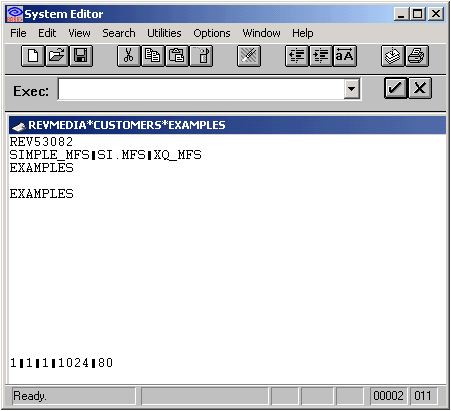
...
Save the record.
...
Warning Exercise care whenever editing records in the media map. Errors made in editing the map can result in map corruption, resulting in loss of access to files stored on that volume. Info When multiple MFSs are installed onto a file, the order in which they are called can be critical. For information on position sensitivity of OpenInsight system MFSs, read the topics on MFS programming later in this chapter
...
...
- (Re)Attach the File.
...
- This can be accomplished by logging out and logging back into the application containing the file, or by using the ATTACH_TABLE command from the System Monitor.