Page History
...
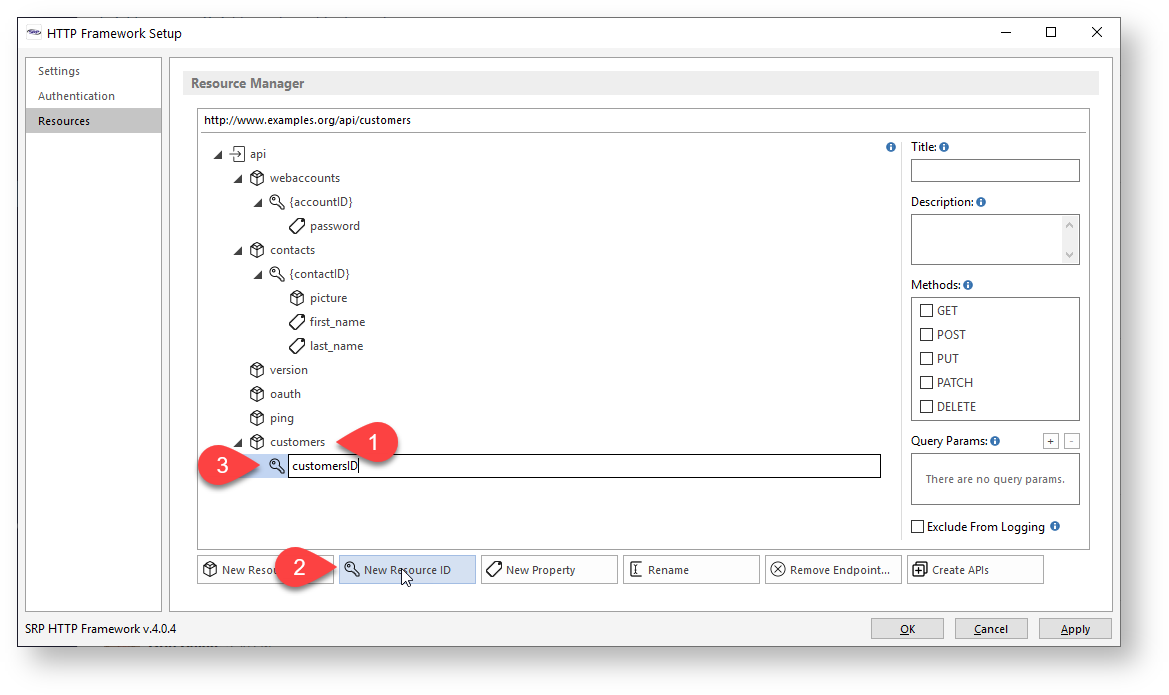
We start by (1) selecting the newly created customers resource node from the Resource Manager tree view, (2) click on the New Resource ID button, and (3) enter the name of the resource ID:
Enabling our Methods
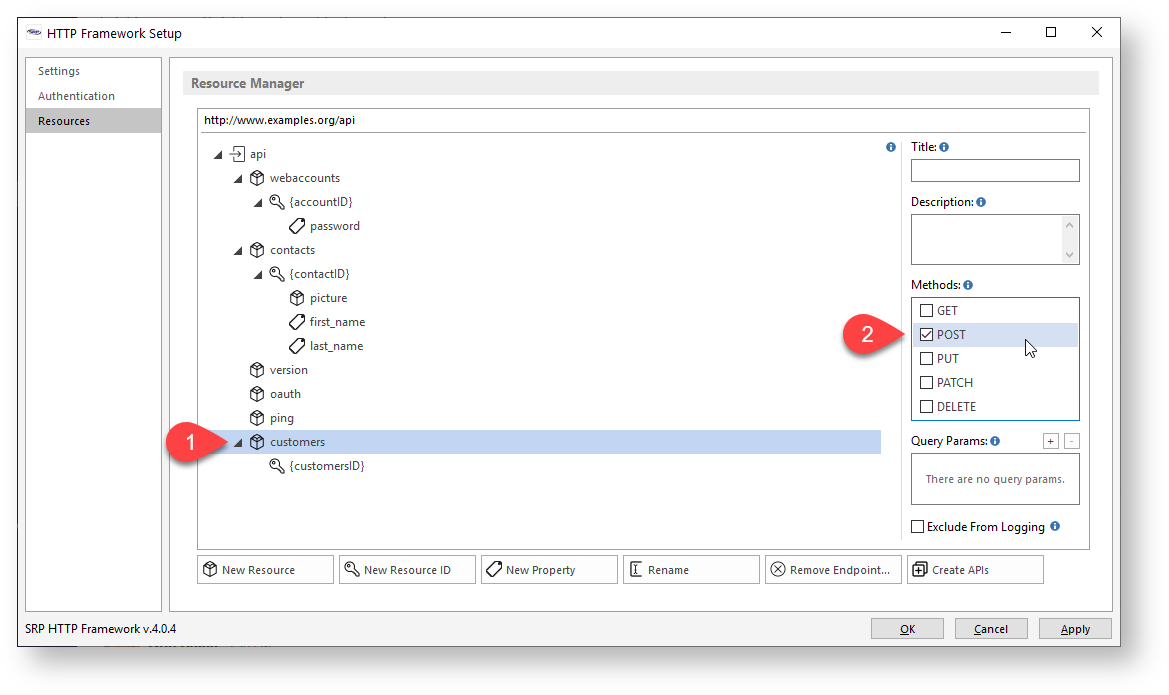
Once a resource endpoint has been defined, we need to define how clients will be able to interact with it by enabling one or more methods. For most database driven resources, CRUD functionality is achieved through the POST (create), GET (read), PUT (update), and DELETE (delete) methods. For our purposes, we'll allow new customers to be created by enabling the POST method for the customers resource endpoint. To do this we just (1) select the customers resource node from the Resource Manager tree view and (2) click on the POST checkbox under the Methods block:
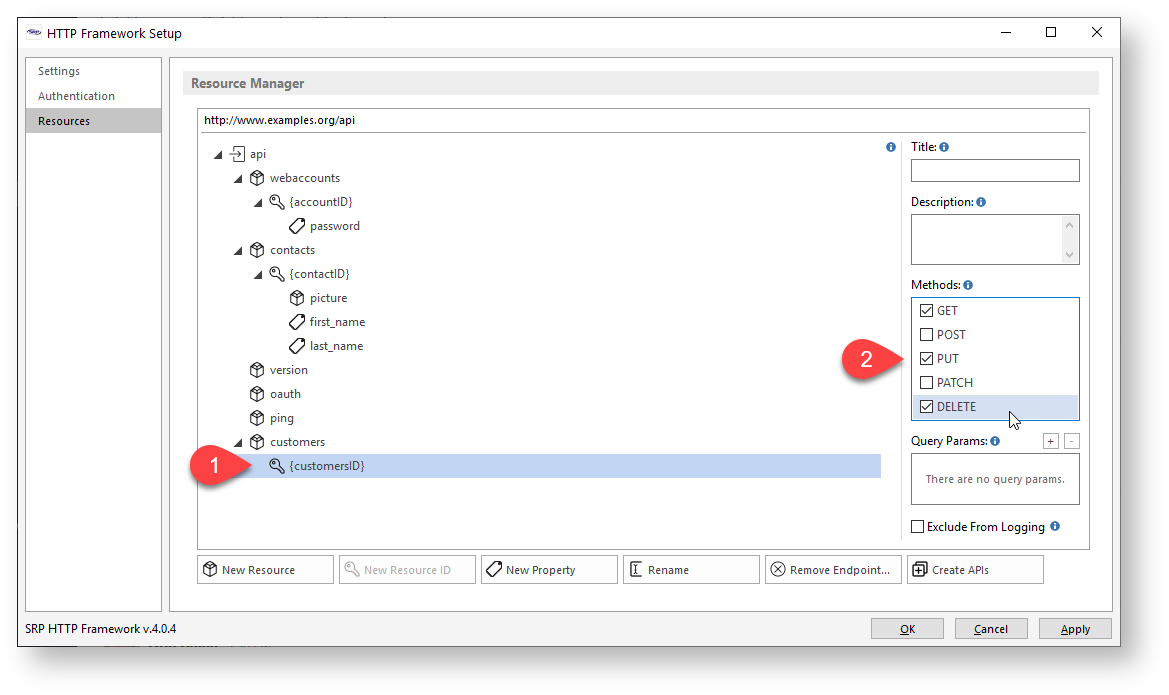
We'll also allow specific customerID resource endpoints to be read, updated, and deleted. To do this we (1) select the customerID resource node from the Resource Manager tree view and (2) click on the GET, PUT, and DELETE checkboxes under the Methods block:
APIs
Creating our API Commuter Module
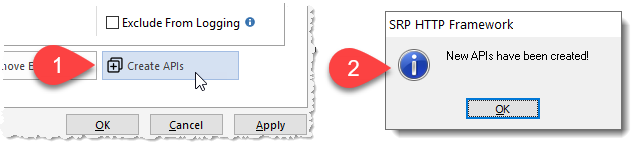
When we are happy with our new resource endpoints, we create the API commuter module simply by (1) clicking on the Create APIs button. This should (2) produce a dialog message confirming that new APIs have been created:
Editing our API Commuter Module
All API commuter modules are named after the parent resource. Resource IDs are not considered an independent resource, even though it has its own endpoint, so their APIs will always be included within the API commuter module of their parent resource. In our case, the parent resource is customers so our API commuter module will be called CUSTOMERS_API. Let's open it using the SRP Editor:

The above is just a snippet of the CUSTOMERS_API commuter module, but it showcases all of our customer resource APIs:
...